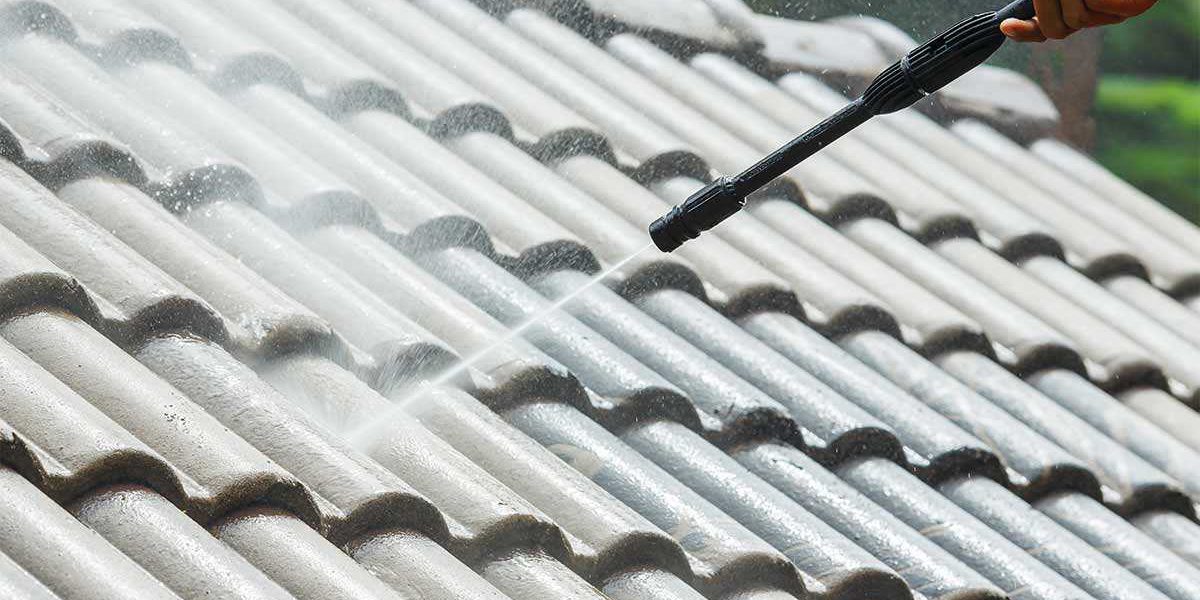
Many buildings have siding, and when a building is a residential home and the siding needs to be cleaned, it is often pressure cleaning which is the preferred option. Pressure cleaning is highly effective at removing many of the stubborn and unsightly stains and marks that can appear on siding such as grime, dirt, mildew, and mould.
If you have been looking at the exterior of your home, and in particular at your siding, and conclude it is time for pressure cleaning to restore your siding to its former glory, then you have made a wise choice. However, pressure cleaning is not just a case of hiring a pressure cleaner and pointing the wand at the exterior of your home. For it to be done safely and effectively, there are a series of steps you must follow.
We have outlined those steps below and narrowed them down to the seven key ones which will ensure your pressure cleaning works, and that no dangers or damage can arise to either you or your home.
Step #1 – Choose The Correct Pressure Cleaning Machine
We will assume that you do not own a pressure washer, therefore you will need to hire one. When doing so, be sure to explain to the hire company the purpose of hiring it is to clean sidings to ensure you will be provided with the correct washer.
Step #2 – Protect The Surrounding Areas
Many an accident has occurred and damage has been caused by someone pointing the wand at something other than what is supposed to be cleaned. To ensure you do not experience the same, cover nearby plants, move breakable garden ornaments, and seal adjacent doors or windows with duct tape.
Step #3 – Prepare Your Cleaning Solution
There are environmentally friendly detergents produced for use specifically with pressure washers, so we recommend using one of them. Other than mixing detergent with water, you can add one part of bleach to nine parts of the detergent.
Step #4 – Start Applying The Cleaning Solution
Do not start blasting with the wand but instead set the washer to a low pressure setting so that you can apply the solution to the surface of the siding. Contrary to what you might think, it is best to work from the bottom to the top as this lets you see where the worst of the dirt is located.
Step #5 – Use A Brush To Remove Stains And Marks
The next stage in the cleaning process is to start scrubbing your siding with a brush. Thankfully, utility brushes are available which can attach to the end of the wand so that you can reach all parts of the siding and will also emit detergent foam to aid cleaning.
Step #6 – Do A Pressure Test
Once you have scrubbed the area of siding you are working on, it is time to put on a pair of safety goggles and test the pressure of the cleaner. Stand at least 36 inches from the wall and press the wand’s trigger. If this is enough to dislodge dirt then great. If not, move closer in increments of 6-inches.
Step #7 – Rinse The Siding Clean
Once you are satisfied you have dislodged and removed all the dirt, grime etc., you can finish the job by rinsing down the siding you are working on with cold water. This time, work from top to bottom to remove all traces of the detergent.


